
Weirdo Wagon
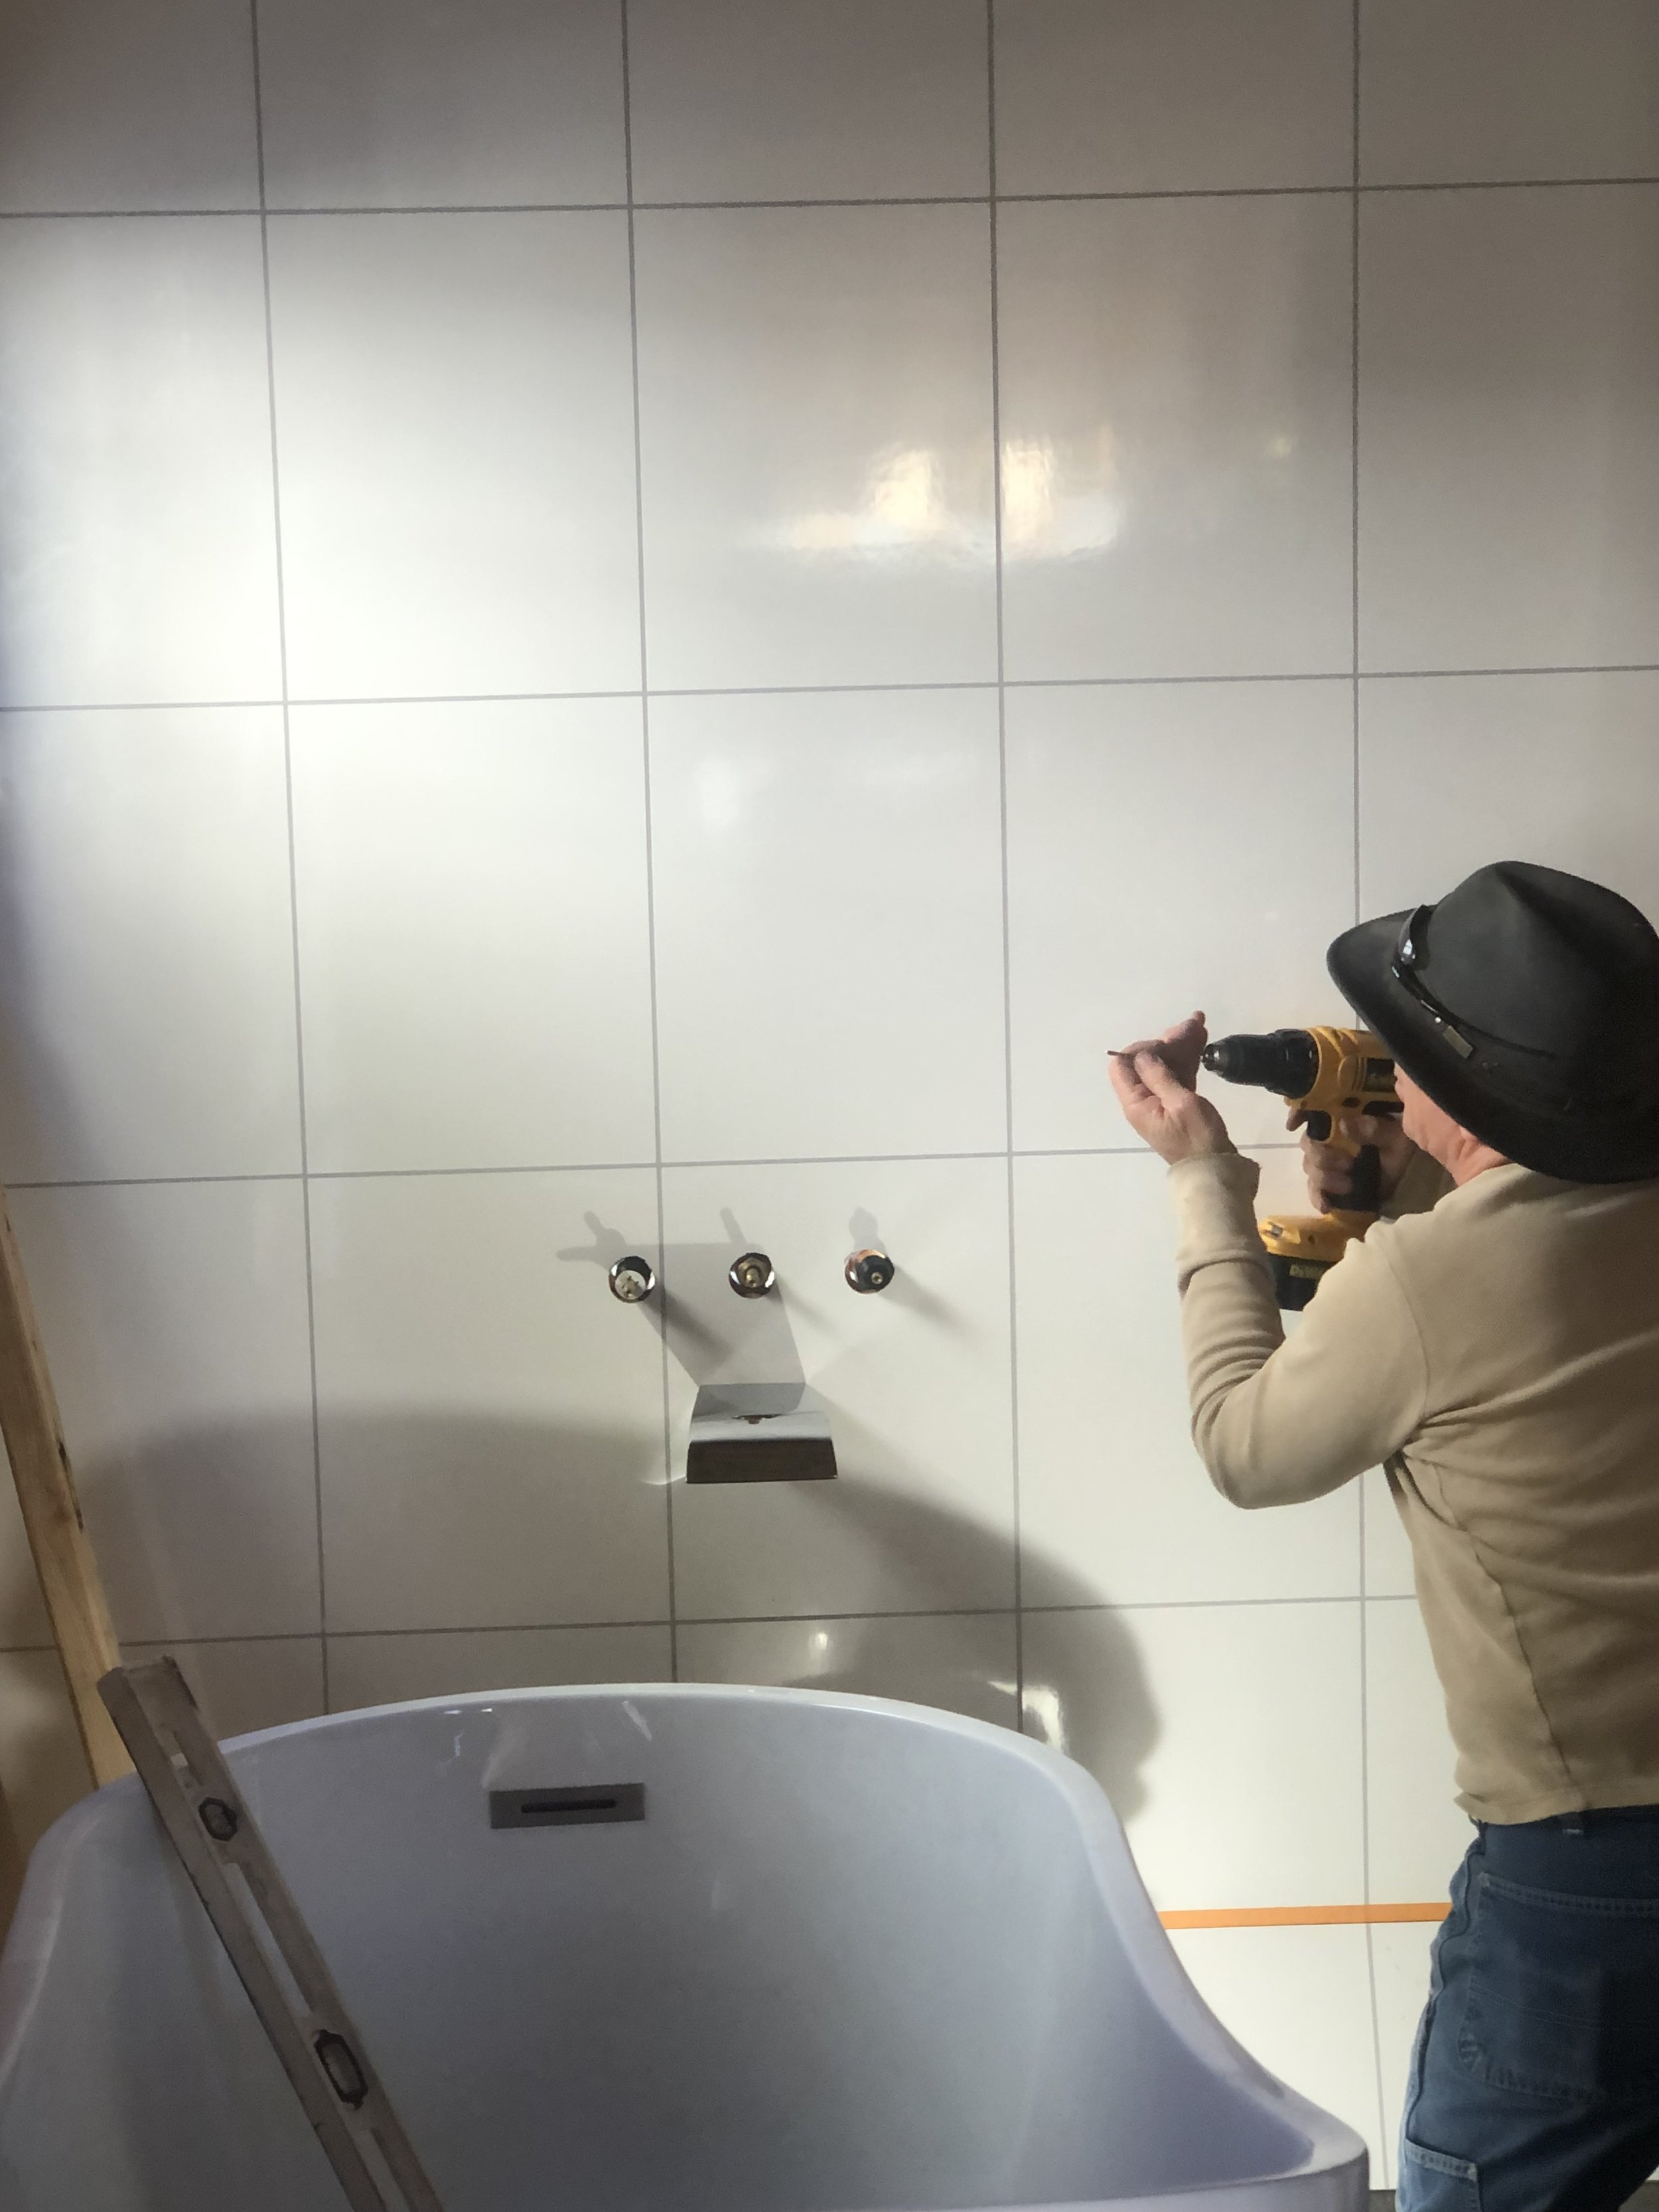
Finished back wall
See the bathroom wall going up in the wagon, behind the tub and beginning final interior fabrication!
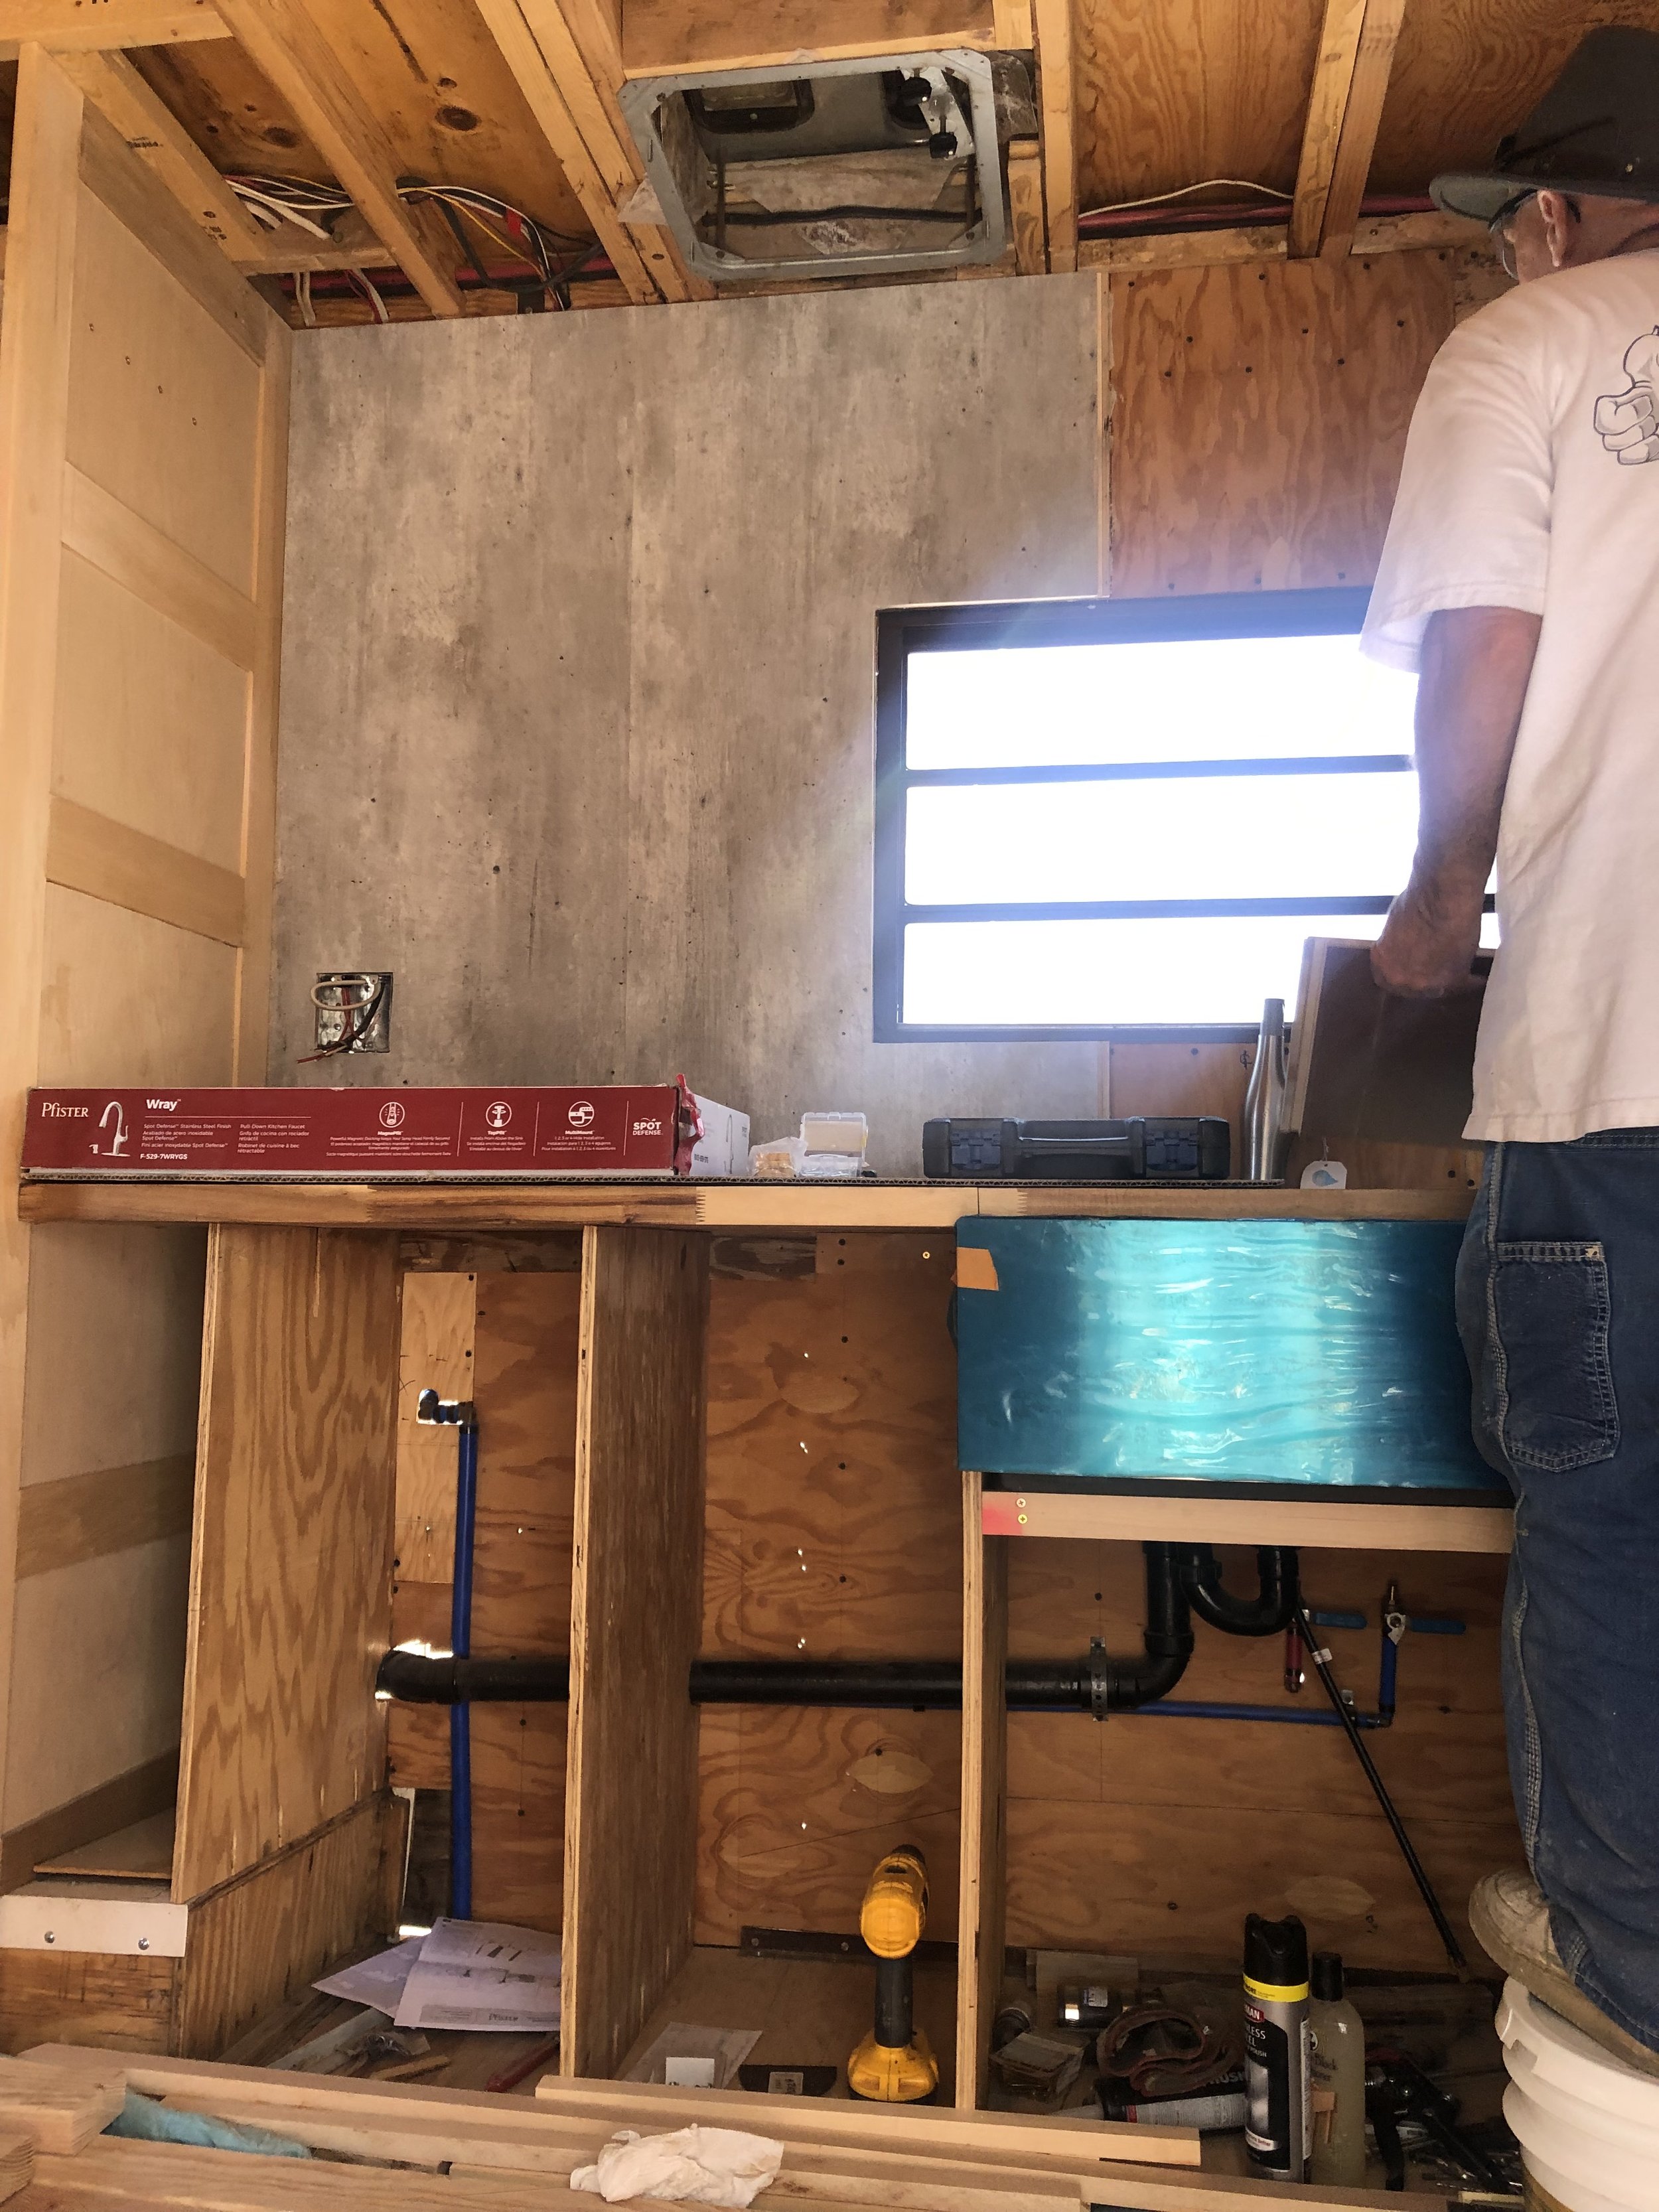
Our first Finished Walls
See the first panels of finished wall going up in the wagon, behind the kitchen counter!
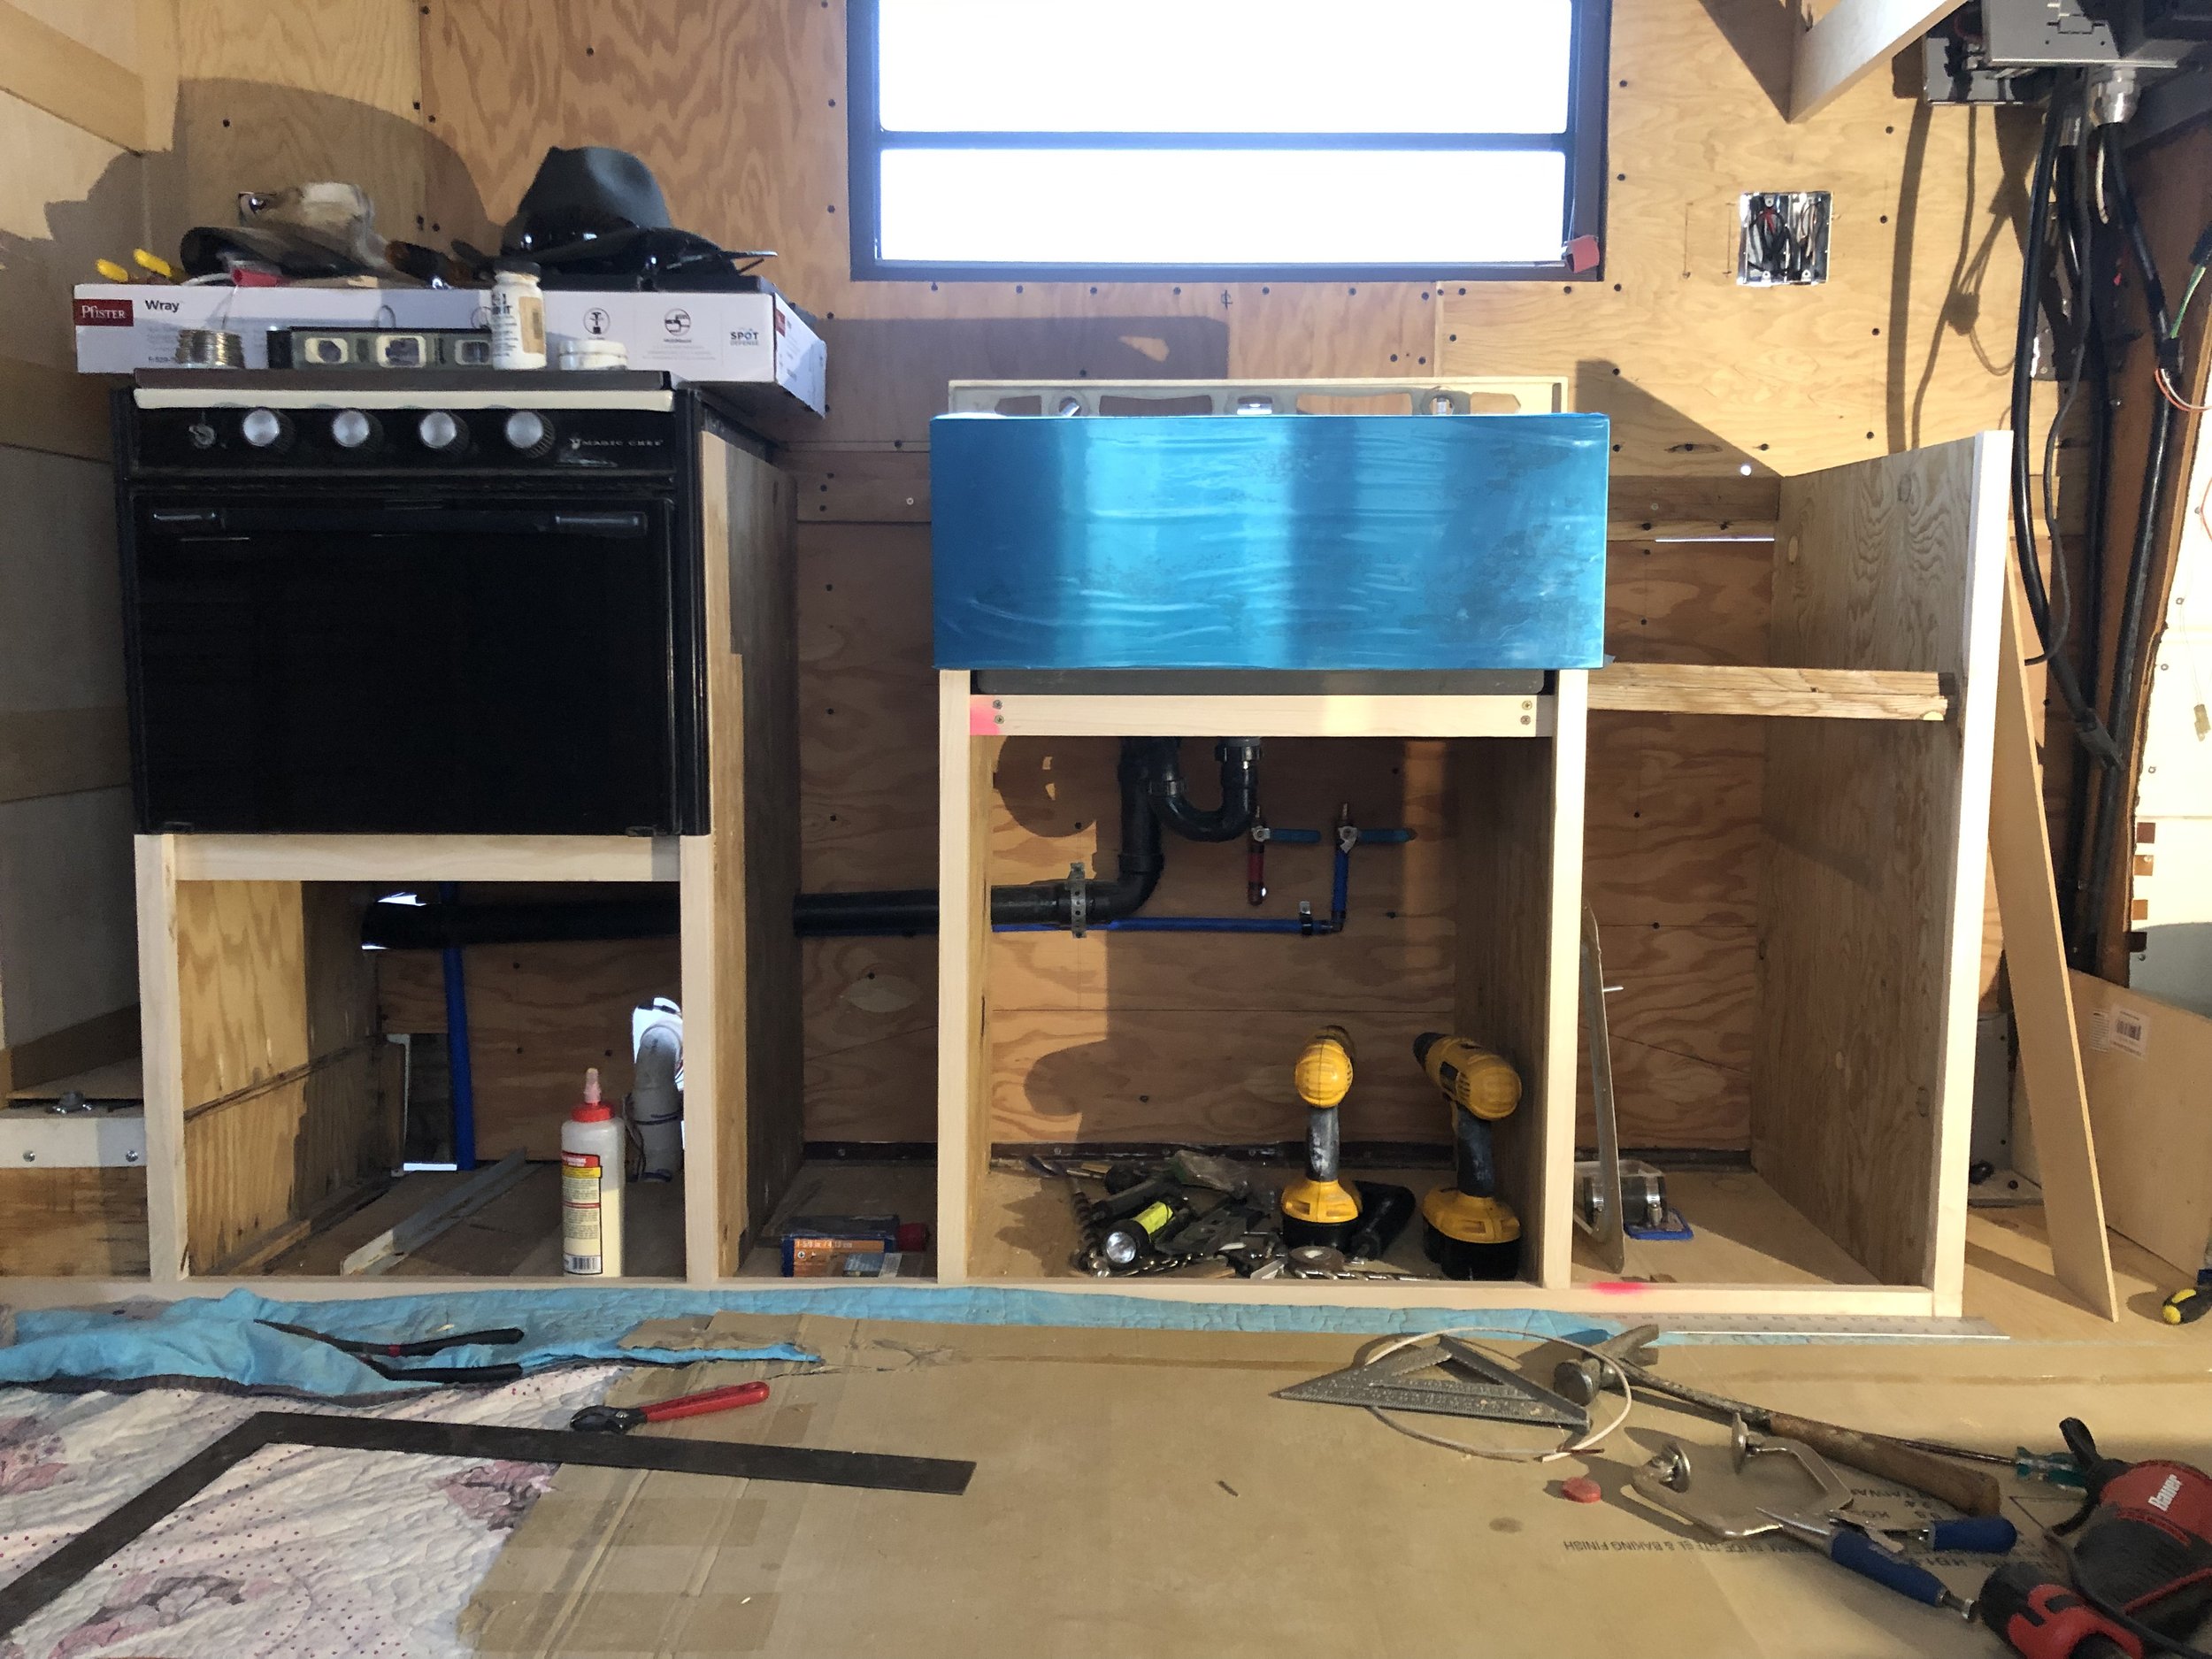
Kitchen Framing
See the initial framing of the kitchen cabinets and drawers. Here is where we began mapping the solid base for the countertop and sink to sit on.
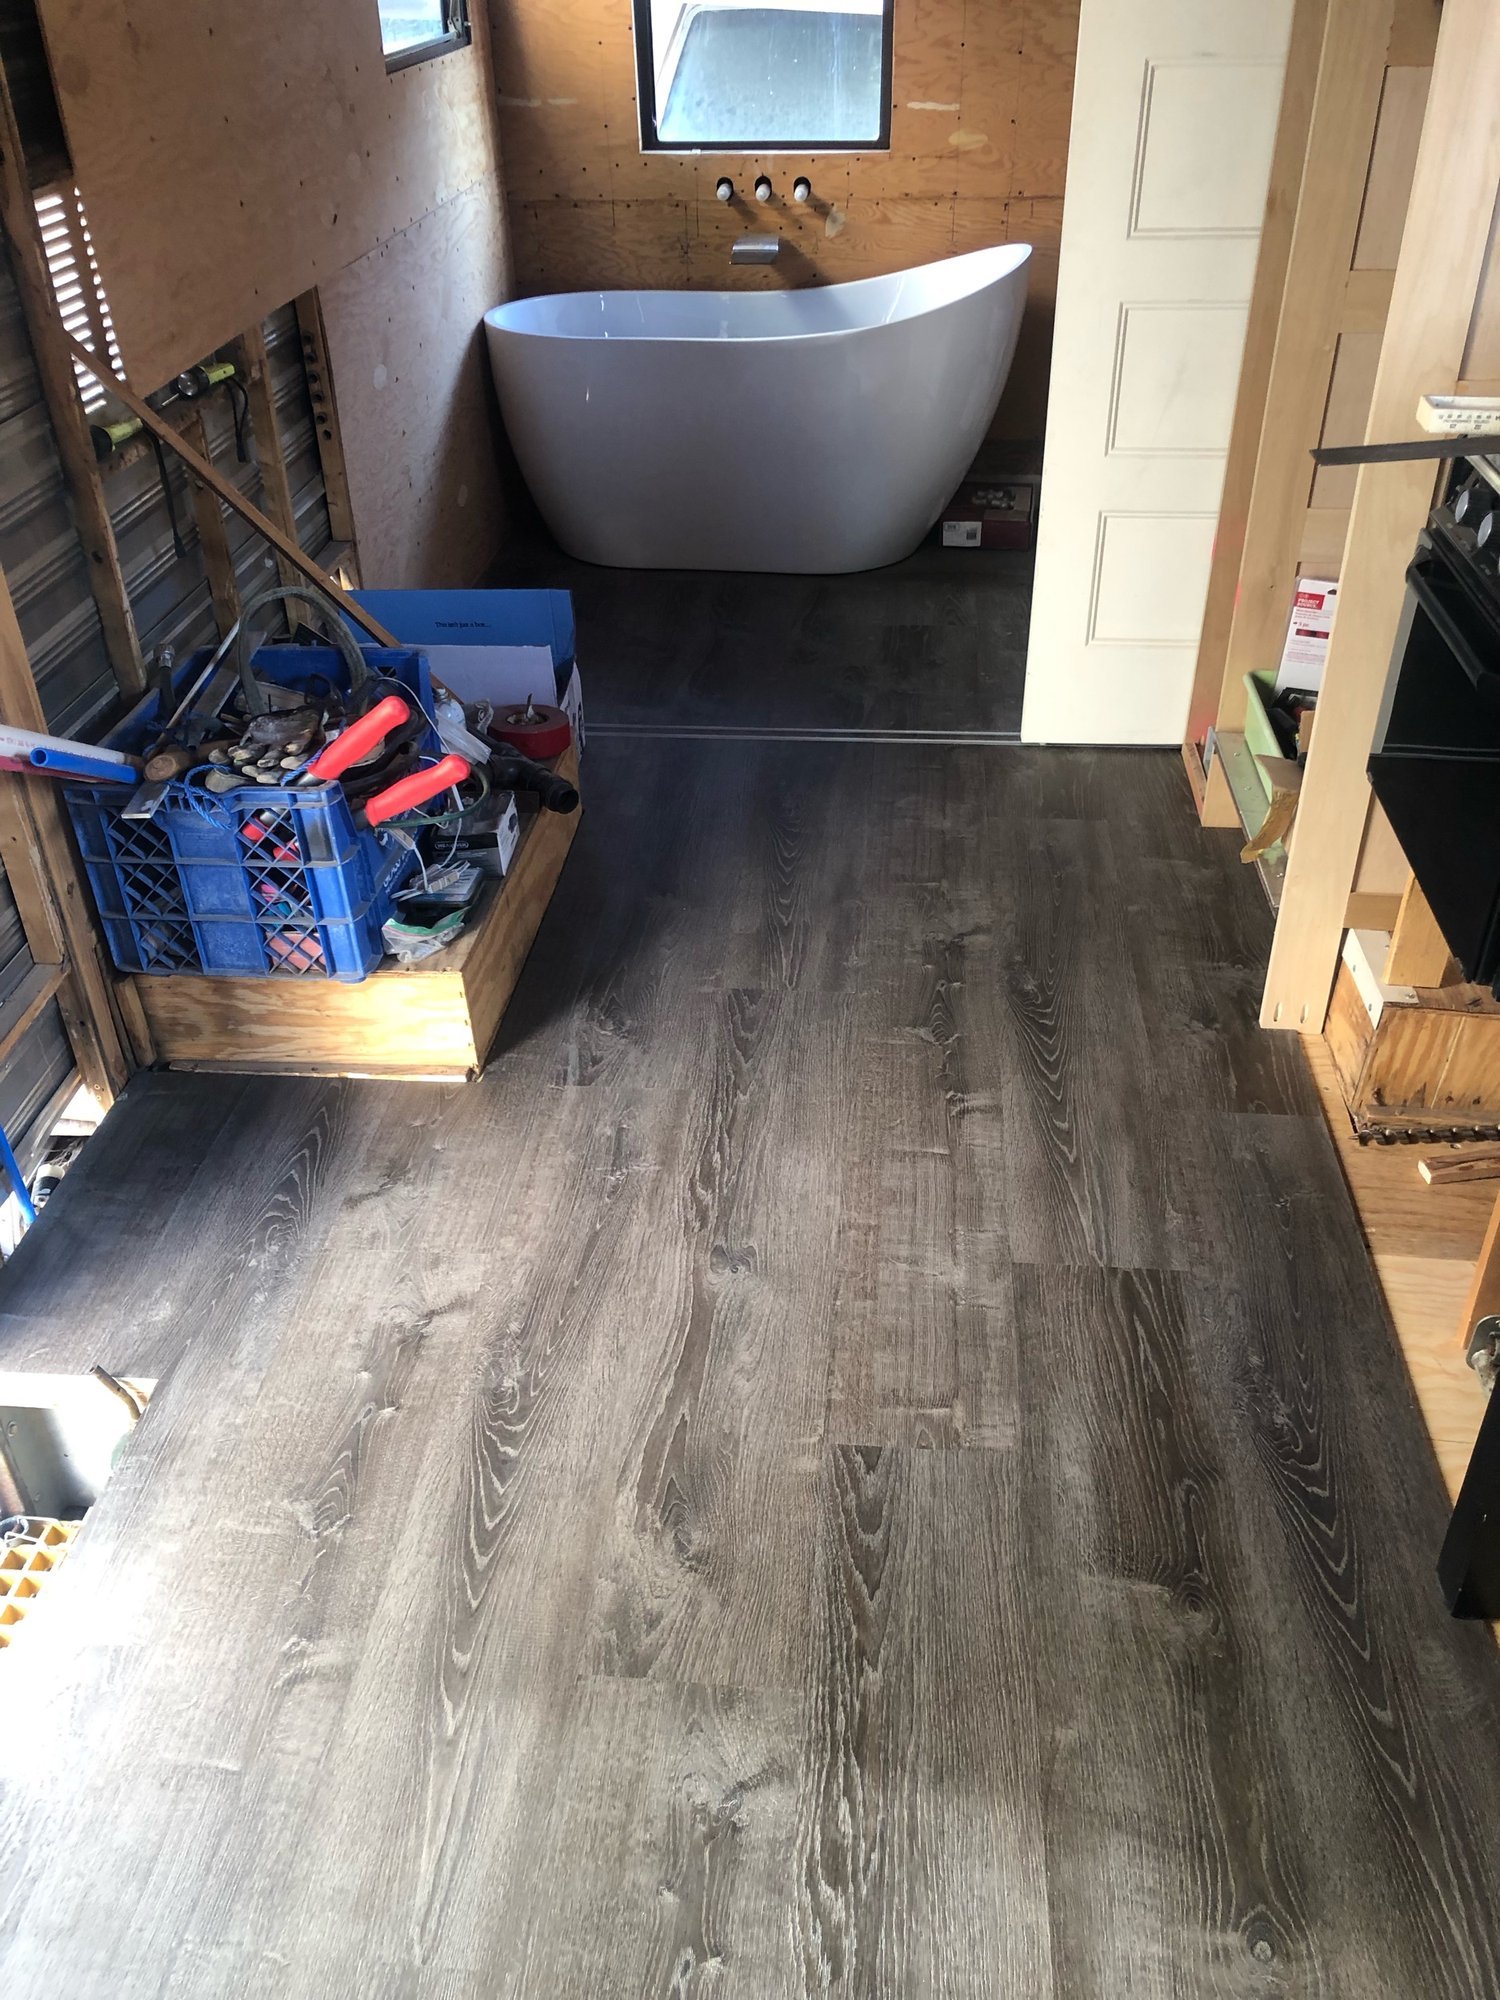
Finished Floors
We decided to go ahead and put down the finished flooring! The most annoying part? That teeny tiny strip between the door tracks!
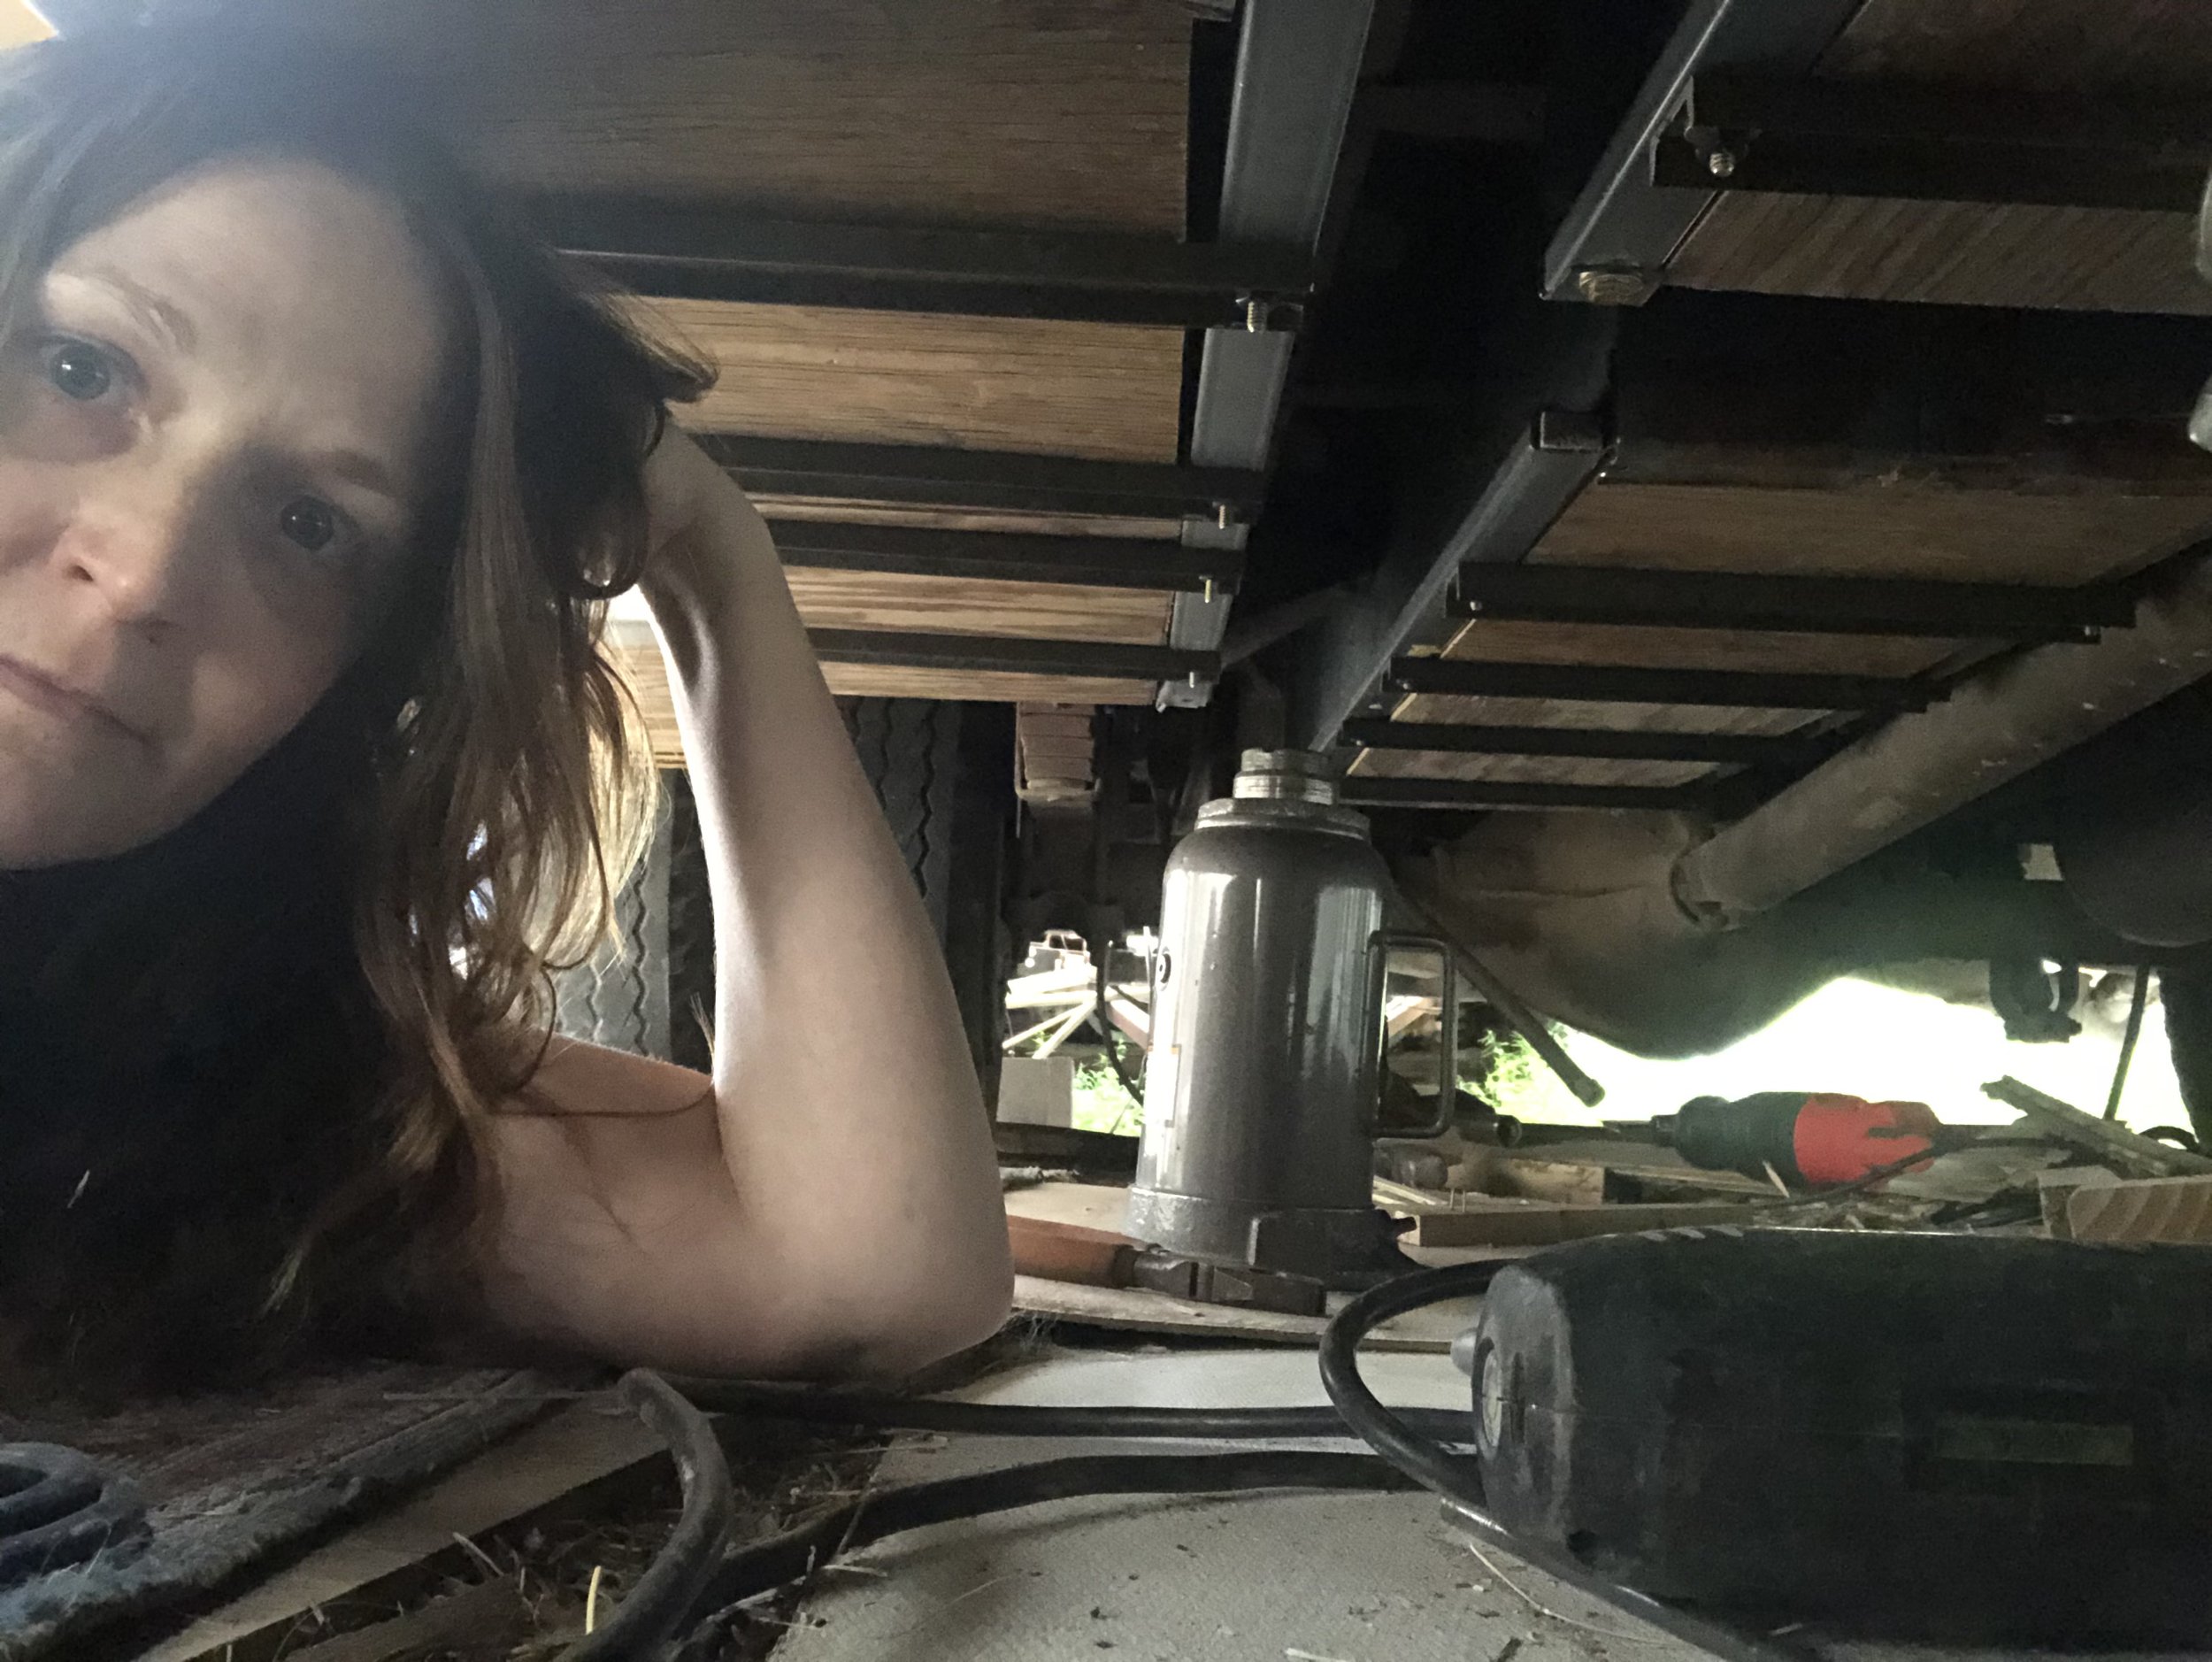
Battery Housing Installation
Battery housing setup and ideas for configuration underneath the chassis are the focus of this post.